





































































Table of Contents
- Assess Your Space and Prioritise What You Need
- Essential Kitchen Appliances for Beginners
- How to Save Money on Kitchen Renovations
- Smart Storage Solutions on a Budget
- Budget-Friendly Flooring and Splashback Options
- Step-by-Step Cost Breakdown for Setting Up
- Common DIY Pitfalls to Avoid
- Conclusion: Create Your Dream Kitchen Without Overspending
- Frequently Asked Questions
Last Updated: September 4, 2026
Setting up a new kitchen from scratch often feels like it demands a fortune, but learning how to set up kitchen on budget is more about smart choices than deep pockets. The most successful setups share one trait: a clear plan before any purchase.
The secret is resisting the urge to buy everything at once. Focus on what you will use daily, then build out from there.
Assess Your Space and Prioritise What You Need
Before you spend a penny, grab a notebook and measure your kitchen. Note the wall lengths, the position of plug sockets, and the space under your worktops. This simple step prevents the classic mistake of buying a fridge that doesn't fit or a trolley that blocks a cupboard door.
Once you have your measurements, make two lists. The first covers non-negotiables: a way to cook, a way to keep food cold, and a way to clean up. The second covers nice-to-haves like a coffee machine or a slow cooker. Stick to the first list and add extras later.
Essential Kitchen Appliances for Beginners
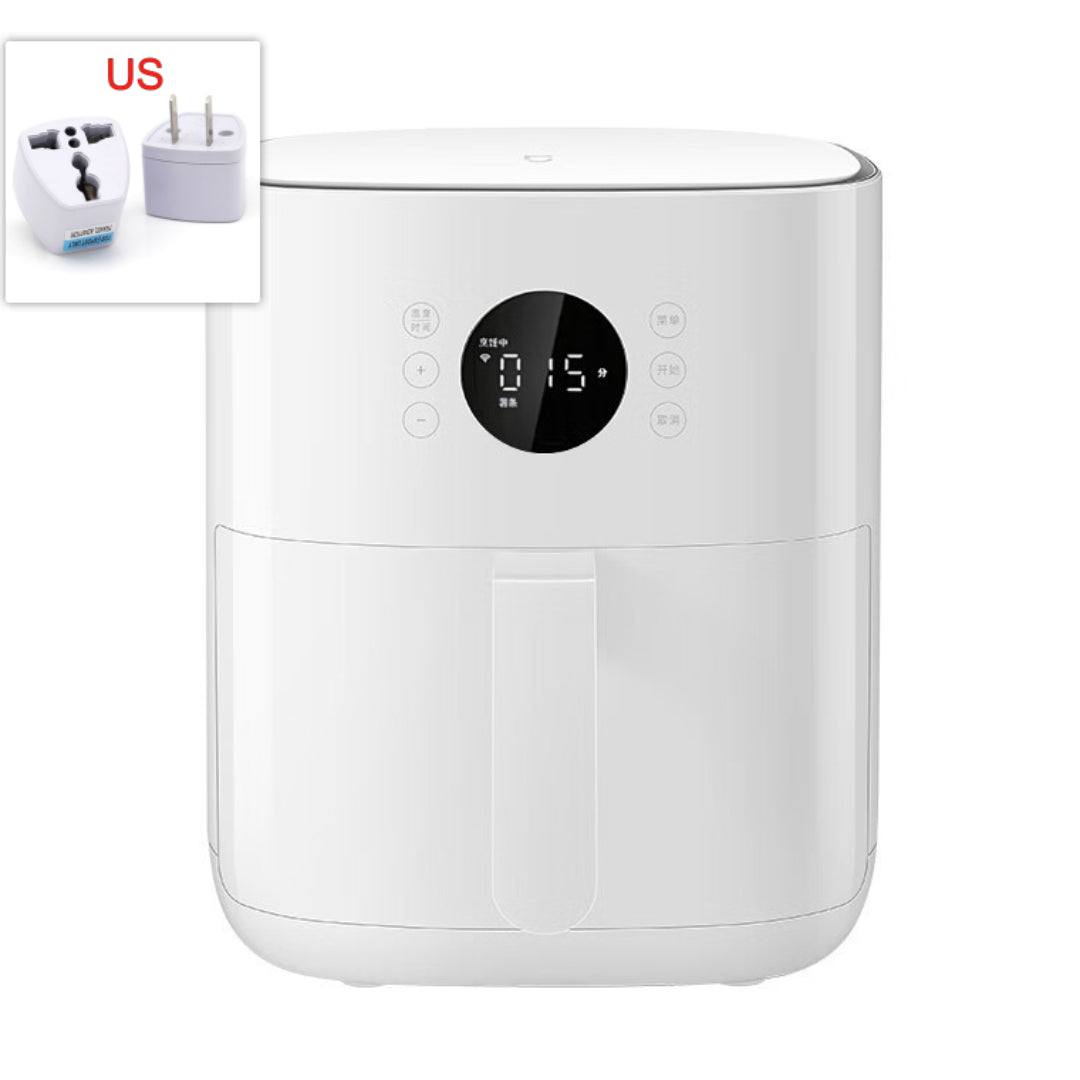
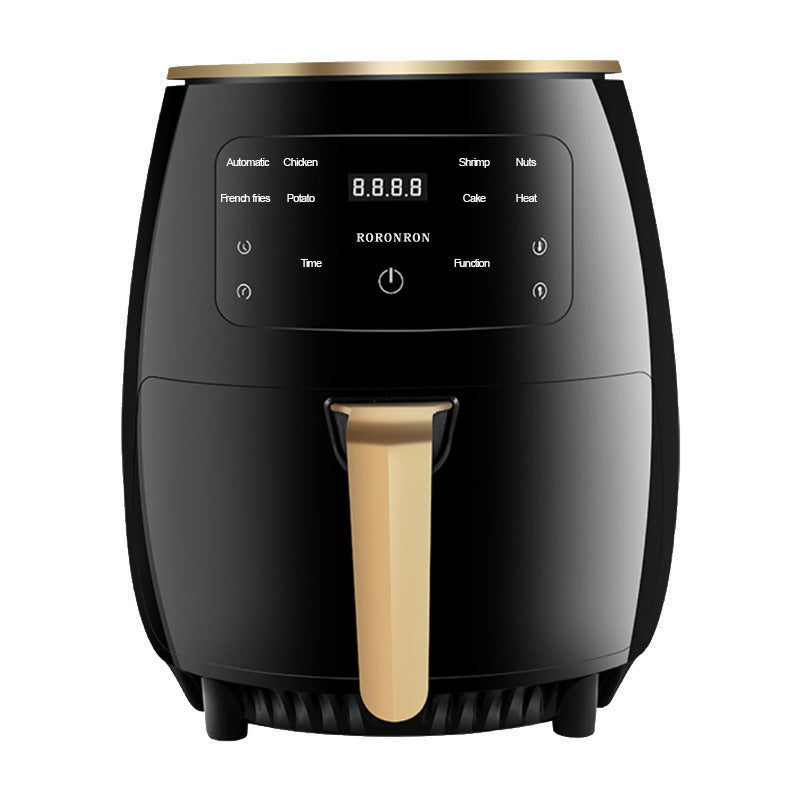
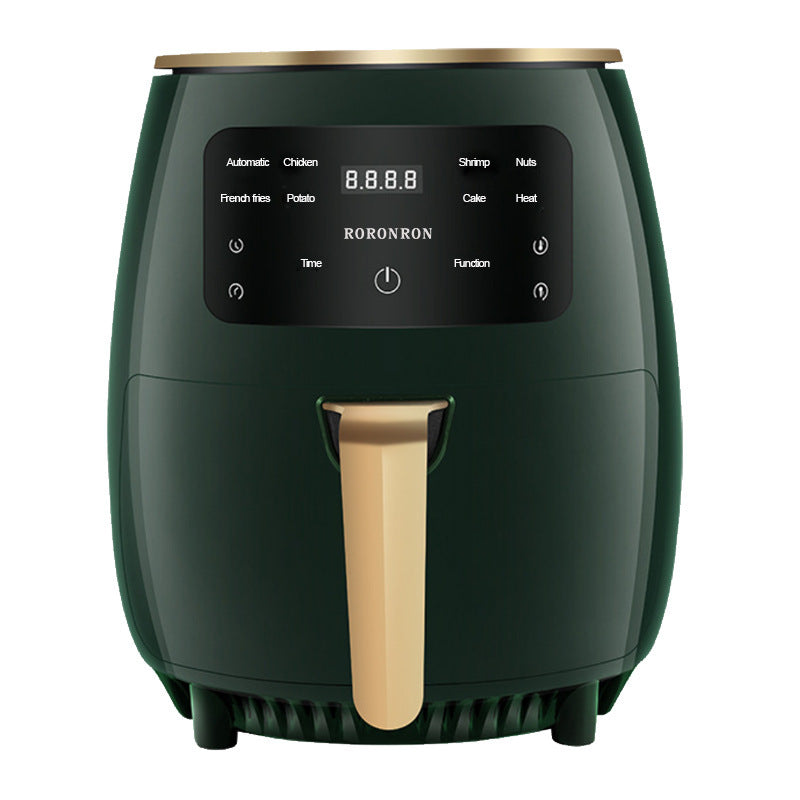
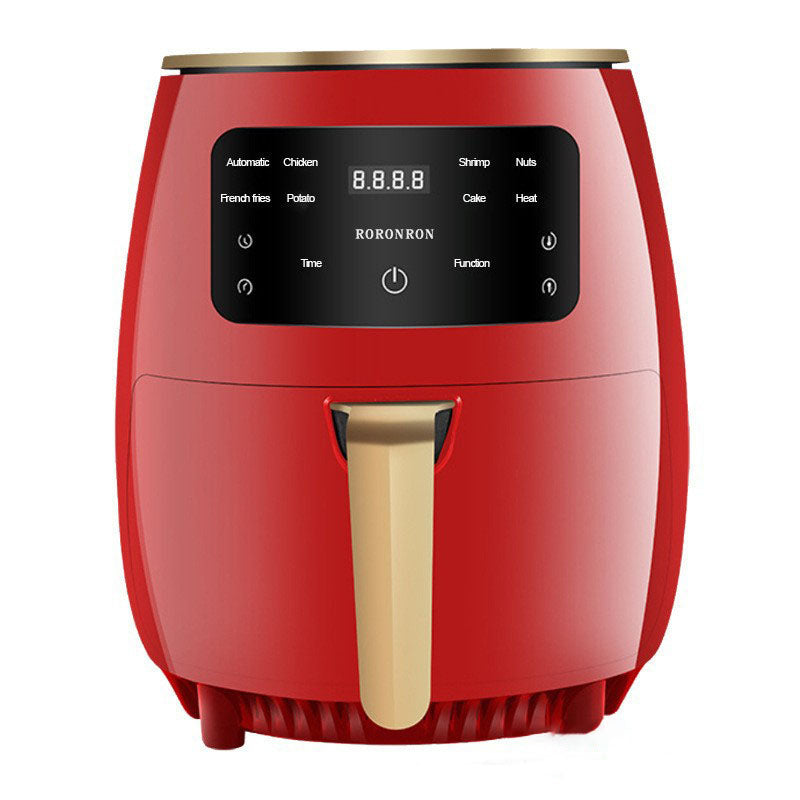
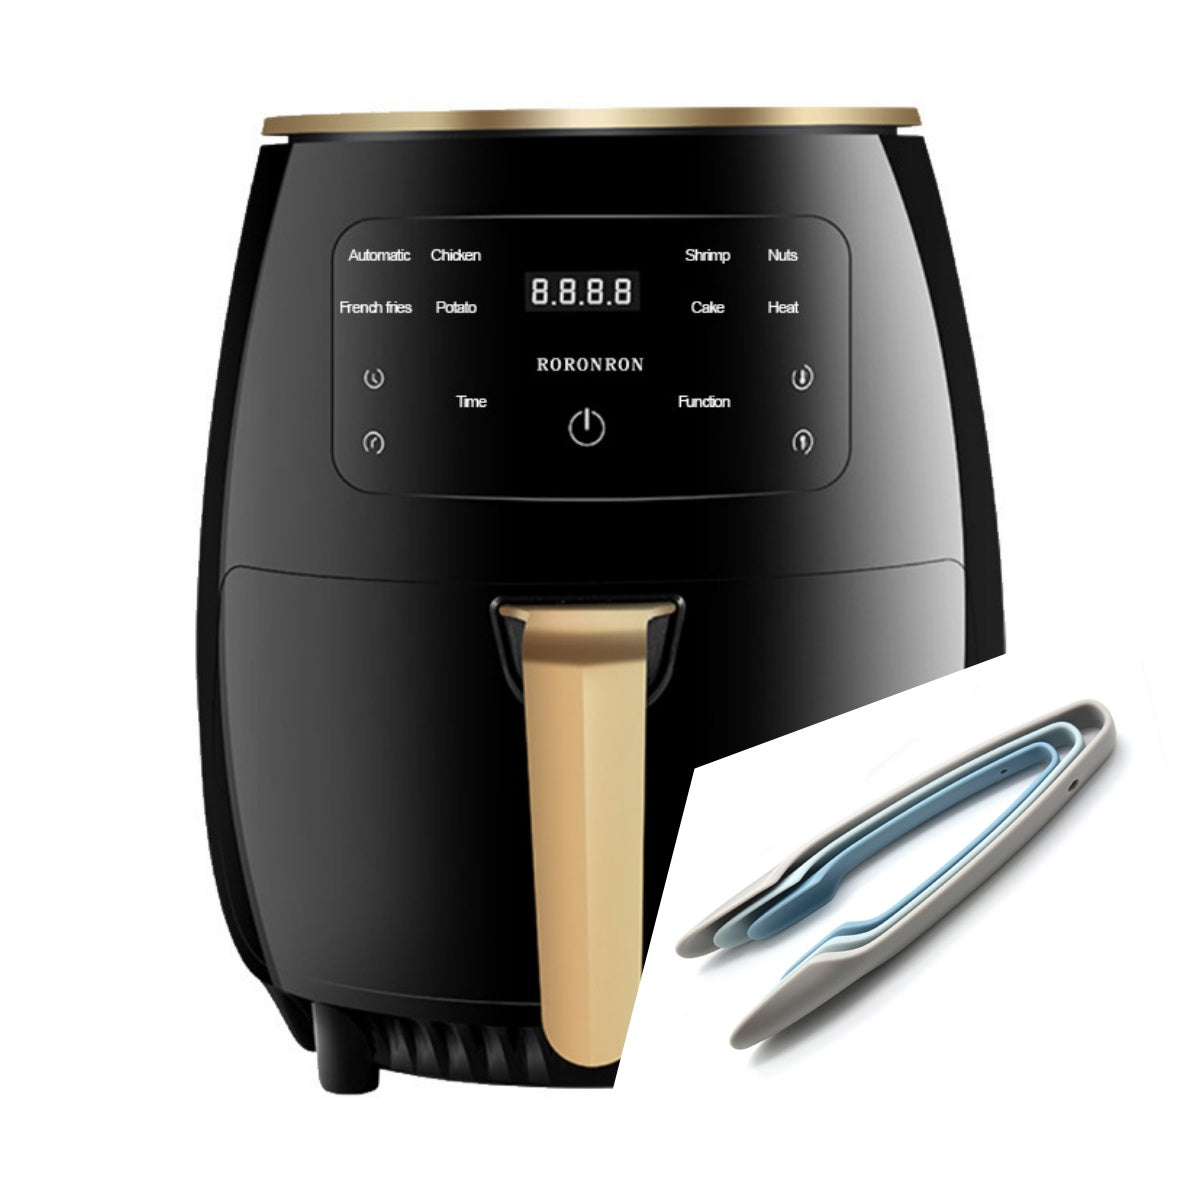
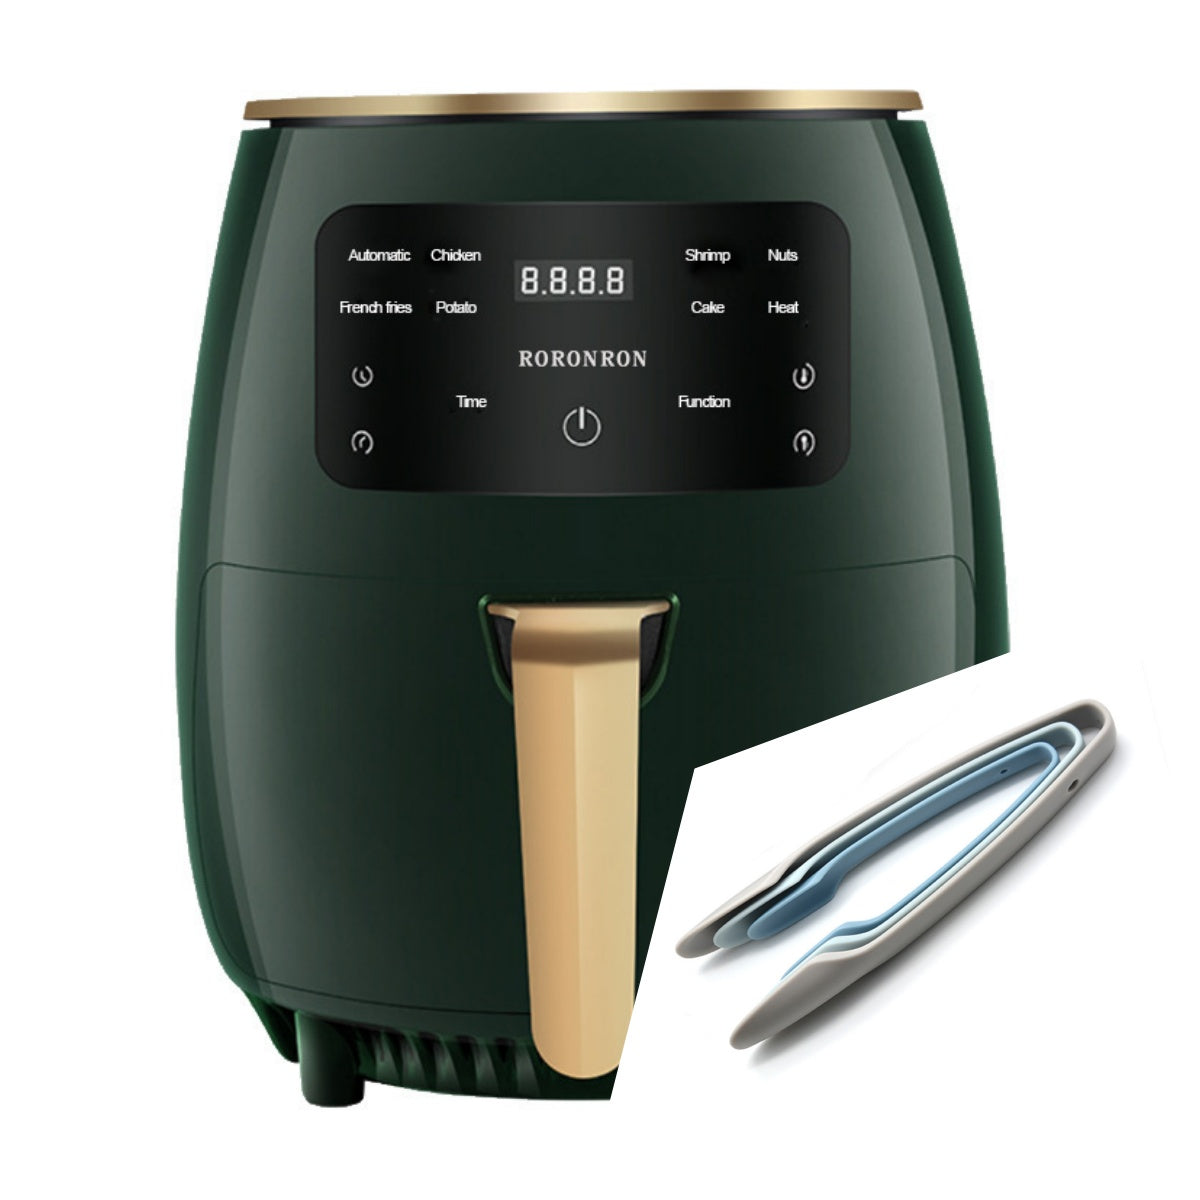
When you are setting up a kitchen on a budget, the appliances you choose matter more than any decorative feature. A kettle, a toaster, and a decent hob cover most daily needs. Students and busy families often find an air fryer replaces both an oven and a microwave for everyday meals, saving counter space and electricity bills.
Cooking Essentials: From Kettles to Air Fryers
Start with the basics. A rapid-boil kettle saves time, while a four-slice toaster handles family breakfasts. A multi-functional air fryer offers good value for money because it roasts, bakes, and reheats without heating a full oven. If you cook for one or two, a compact two-tier model keeps your worktop clear.
Food Prep and Storage Must-Haves
Storage containers with airtight lids protect leftovers and bulk-bought staples. Look for glass containers that can go from fridge to microwave without leaching plastic. A good chef's knife, a chopping board, and measuring spoons complete your prep kit. Resist buying a 20-piece cookware set; a single non-stick frying pan and a medium saucepan handle most recipes.
How to Save Money on Kitchen Renovations
A full kitchen renovation can cost more than a new car, but you do not need to rip everything out. The most cost-effective approach is to work with what you already have. Refacing existing cabinets, replacing worktops with laminate, and updating the splashback transforms the room for a fraction of the cost. According to Homebuilding & Renovating's kitchen cost guide, refacing cabinets rather than replacing them saves homeowners substantial sums while delivering a fresh look.
Painting Cabinets and Updating Hardware
Cabinet paint is a significant transformation you can make for under £50. Clean the surfaces with sugar soap, sand lightly, and apply a primer designed for kitchen cabinetry. Two thin coats of durable satin or eggshell paint beat one thick coat every time. While the paint dries, replace the handles and hinges. Modern brushed brass or matte black handles instantly update dated cabinet fronts.
Smart Storage Solutions on a Budget
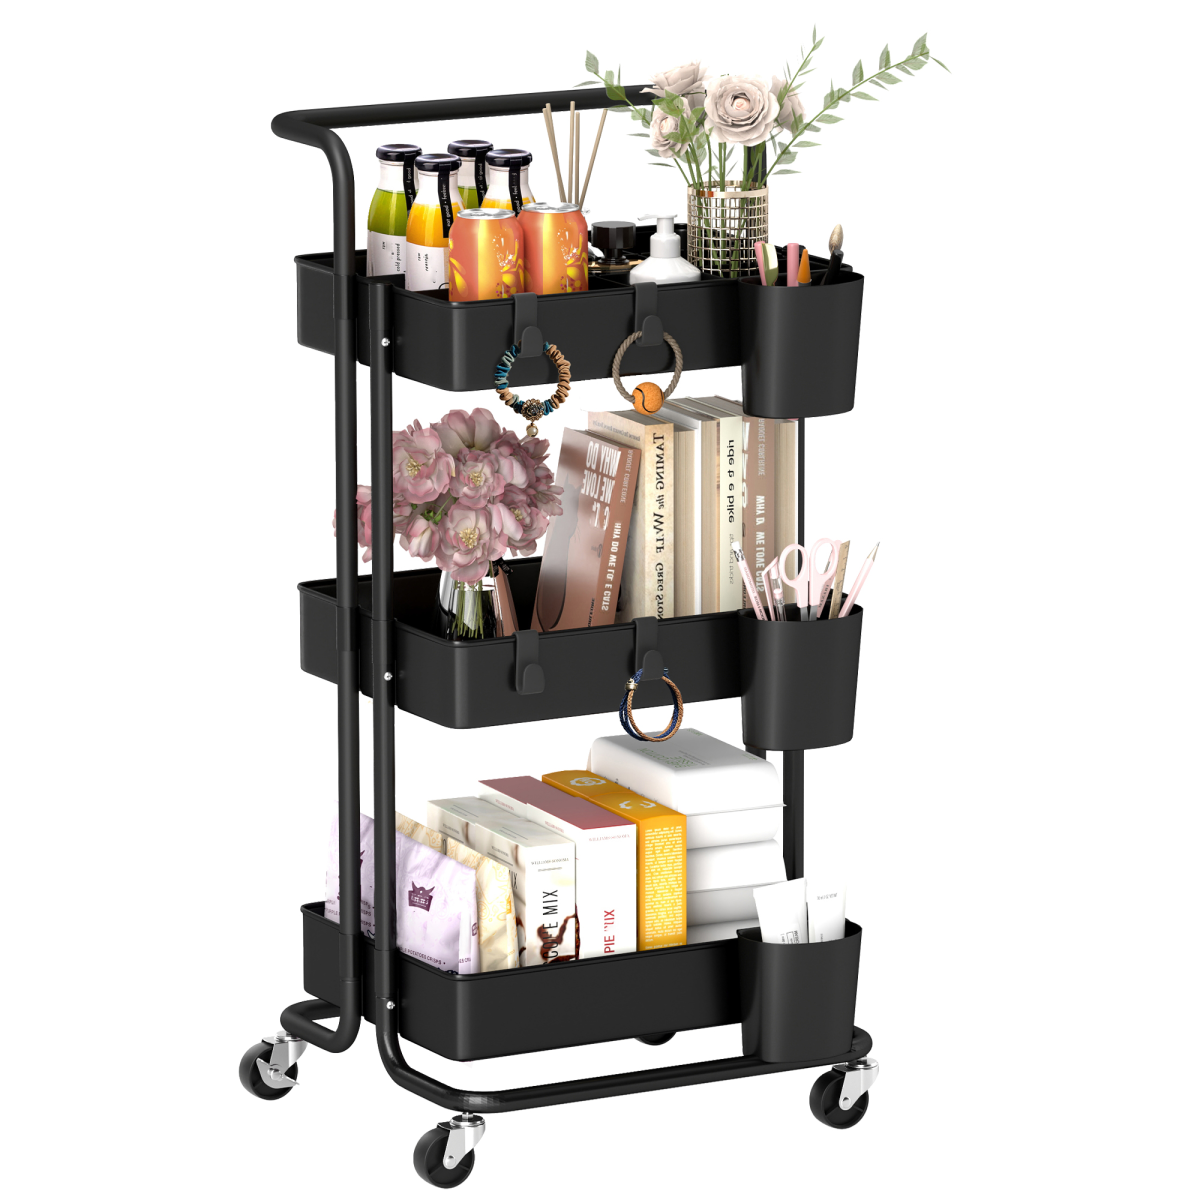
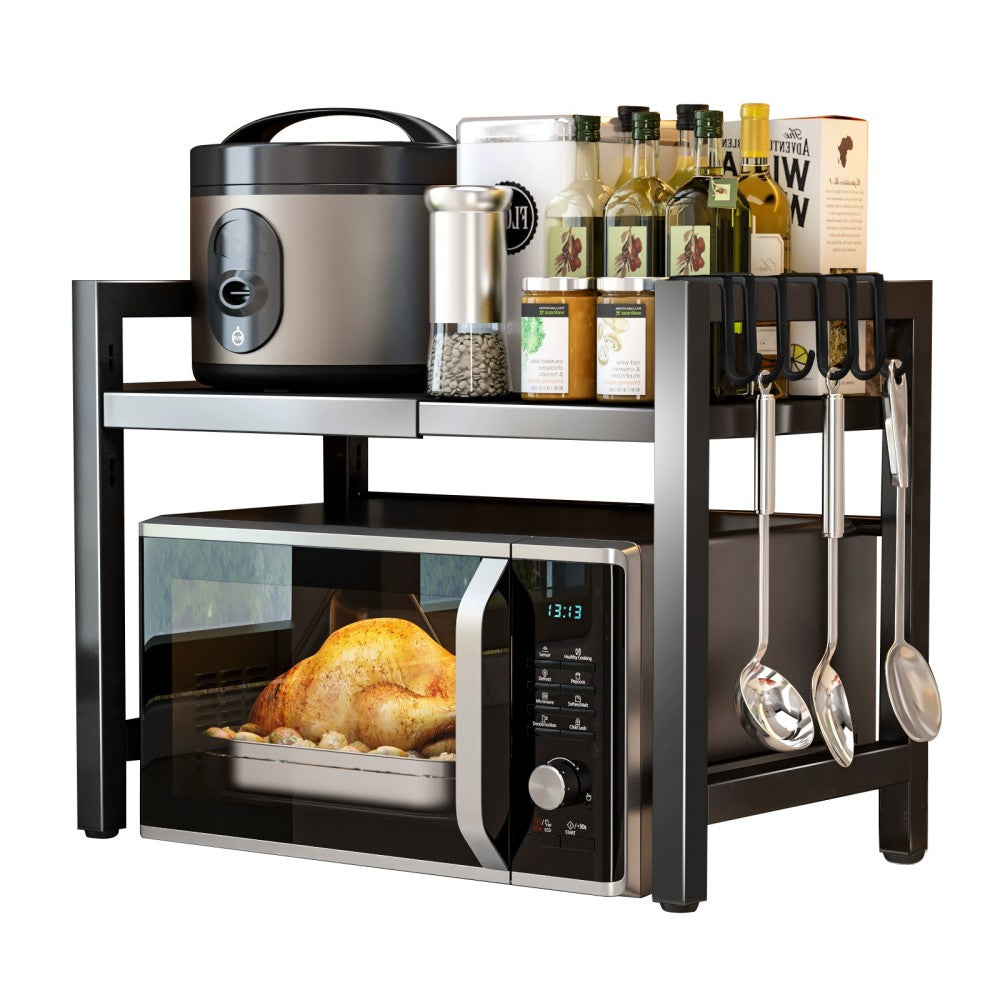
Storage efficiency often matters more than total space. A rolling kitchen cart adds worktop area and hides clutter without requiring any building work. The HOMCOM Kitchen Island on Wheels with Drop Leaf at £141.74 offers three drawers, a spacious cabinet, and a drop-leaf tabletop that folds away when not needed. Its rubberwood surface resists water and scratches.

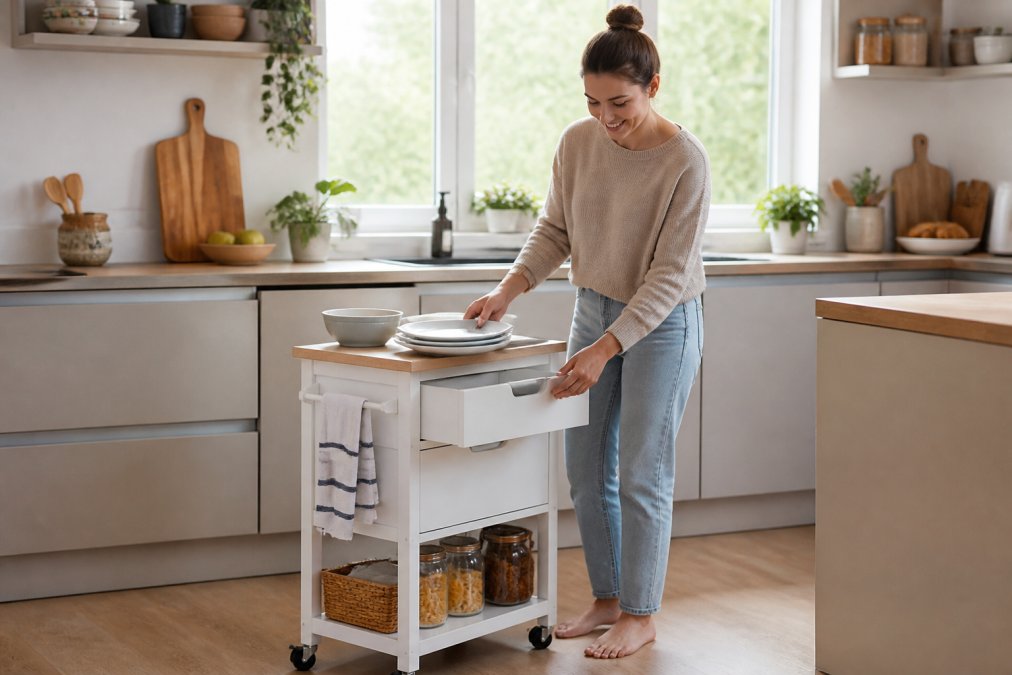
For tighter budgets, the Kitchen Island Trolley with White Pine Worktop at £59.62 includes two drawers, pull-out shelves, and a six-bottle wine rack. Both options move on lockable wheels. Open shelving made from reclaimed timber and wall-mounted magnetic knife strips also free up drawer space for less than £20.

Budget-Friendly Flooring and Splashback Options
Flooring and splashbacks cover a large visual area, so they set the tone for the whole room. Fortunately, they are also two areas where you can achieve a high-end look for a modest outlay.
Flooring: Weighing the True Cost of Each Option
The cheapest upfront option is not always the most cost-effective once you factor in durability and installation. Here is a comparison of common budget-friendly floorings for a typical 5m² kitchen:
| Material | Material Cost (approx.) | DIY Difficulty | Durability | Best For | Watch Out For |
|---|---|---|---|---|---|
| Luxury Vinyl Tile (LVT) | £8 - £20 per m² | Moderate | High | A realistic wood or stone look on a budget | Can dent under heavy appliances; needs a perfectly level subfloor |
| Laminate | £10 - £25 per m² | Easy | Medium | A hard-wearing, scratch-resistant surface | Not ideal for areas prone to standing water; can swell at the seams |
| Vinyl Sheet | £5 - £15 per m² | Easy | Medium | A seamless, waterproof, and very cheap option | Can tear or puncture; pattern choices can look dated |
| Engineered Wood | £25 - £45 per m² | Hard | High | Adding long-term value and warmth to the room | Requires an underlay and professional installation for best results |
A note on installation: While peel-and-stick planks are tempting, a 'click-lock' LVT or laminate system is often more forgiving for a first-time DIYer. It doesn't require the subfloor to be as perfectly smooth, and it can be lifted and reused if you make a mistake.
Splashbacks: From Temporary to Transformative
Your splashback takes the brunt of splashes, steam, and grease. You have three main budget tiers to consider:
1. The Renter's Solution (Under £40) Temporary adhesive panels, often made of PVC or thin acrylic, are designed to be removed without damaging the wall. They can be a helpful solution for rented flats. Look for panels with a 'peel-and-stick' backing that claims to be 'damage-free' on painted plaster. They are easy to wipe down but can scratch, so use a soft sponge.
2. The DIYer's Upgrade (£40 - £100) Large-format ceramic tiles (e.g., 60cm x 30cm) are a good option here. Bigger tiles mean fewer grout lines, which translates to less cleaning and a more modern, seamless look. A single sheet of adhesive-backed mosaic tiles is another quick win, but the grout lines will require more upkeep. Use a ready-mixed adhesive and a 'spacer' to keep lines even. This is a very achievable weekend project.
3. The High-Impact Choice (£150+) If your budget can stretch, a single sheet of toughened glass or a stainless steel splashback is an easy surface to keep clean and adds a premium, custom feel. These are typically cut to your exact measurements by a specialist supplier. While the upfront cost is higher, it eliminates grout and is virtually indestructible.
A Unique Angle: The 'Warmth' Factor
Most budget guides focus purely on price, but they miss a key point: flooring material drastically affects how warm a room feels. Ceramic tiles and stone draw heat away from your feet, making the kitchen feel colder in winter. Vinyl, laminate, and wood are better insulators. If you want a tile look but want warmth, consider an LVT that mimics stone.
Step-by-Step Cost Breakdown for Setting Up
Here is a realistic breakdown of where your money should go when setting up a kitchen on a budget. The figures assume you already have the room itself and focus on furnishing it from scratch.
| Item | Budget Range | Priority | Notes |
|---|---|---|---|
| Cooker or air fryer | £80 - £200 | Essential | Air fryer suits small households |
| Fridge with freezer box | £150 - £300 | Essential | Buy second-hand if needed |
| Rolling kitchen cart | £47 - £151 | High | Adds storage and worktop space |
| Cabinetry paint and handles | £40 - £80 | Medium | Transforms existing units |
| Flooring (LVT) | £50 - £150 | Medium | DIY installation keeps costs down |
| Splashback panels | £30 - £70 | Low | Temporary options for renters |
This breakdown assumes you already own basic cutlery and crockery. If not, charity shops and supermarket basics cover you until your budget recovers.
Common DIY Pitfalls to Avoid
A budget kitchen project lives or dies on execution. A £50 can of paint wasted on a botched job is a significant chunk of your budget gone. Here are the most frequent and costly mistakes to sidestep.
Pitfall 1: The 'One Thick Coat' Cabinet Paint Disaster
This is a common error. Homeowners, eager to finish, apply one thick, gloopy coat of paint to a cabinet door. The result is a surface riddled with brush marks, drips, and uneven colour that chips easily.
The Fix: The rule is 'two thin coats are better than one thick one'. But there is a more professional method: the 'flood coat' and 'tip-off' technique.
- Flood Coat: Using a high-quality synthetic brush, load it with paint and apply it generously to the panel, working it into the wood grain.
- Tip-Off: Before it starts to dry, take a dry brush and lightly drag it over the wet surface in one continuous, smooth stroke from one end to the other. This 'tips off' the brush marks, leaving a perfectly smooth, factory-like finish.
This technique takes practice, but it can make a difference between a professional-looking reface and a DIY giveaway. Be patient, most cabinet paints require 24 hours of drying time between coats.
Pitfall 2: Ignoring the 'Dust Factor' When Sanding
Sanding is not just about roughing up the surface; it's about creating a clean, dust-free base for the primer to adhere to. The biggest mistake is painting immediately after sanding without removing the dust.
The Fix: After sanding, wipe down the surface with a tack cloth (a specialised sticky cloth available at any DIY shop). This picks up the fine dust that a normal cloth leaves behind. Then, use a vacuum with a brush attachment to clean the surrounding area. Airborne dust will settle on your wet paint within minutes, leaving a gritty texture.
Pitfall 3: The 'Buy First, Measure Later' Trap
This is not just about a fridge being too wide. It's about the smaller mistakes, like buying an under-counter fridge without checking if your existing cabinet door can open fully, or installing a dishwasher without checking the water inlet hose can reach the isolation valve.
The Fix: Before buying any appliance, create a simple 'clearance map'. Measure not just the space for the appliance, but also:
- The 'Door Swing' Zone: Does the appliance door or the cabinet door in front of it have enough room to open fully?
- The 'Pull-Out' Zone: If you have drawers or a trolley, can they be pulled out fully without hitting a light fitting or a wall?
- The 'Connection' Zone: For a washing machine or dishwasher, can you physically reach the water supply and waste pipe connections? You may need to factor in the cost of longer hoses.
Pitfall 4: Underestimating the Power of Lighting Zones
Most guides say 'add under-cabinet lighting', but they don't explain why. A single ceiling light creates a 'cave effect', your body casts a shadow over the worktop, making food prep difficult and even dangerous.
The Fix: Think of lighting in three layers:
- Ambient: The main ceiling light. If it's a single central fitting, consider swapping it for a track or multi-spotlight bar to spread the light more evenly.
- Task: This is the crucial layer. Battery-powered, motion-sensor LED strips are a game-changer. They cost around £15-£25, stick under your wall cabinets, and switch on automatically when you approach. This provides direct, shadow-free light on your chopping board and hob.
- Accent: A simple, plug-in LED strip placed on top of your wall cabinets to shine upwards can add a surprising amount of warmth and make the ceiling feel higher.
Conclusion: Create Your Dream Kitchen Without Overspending
Setting up a kitchen on a budget comes down to sequencing your purchases and resisting impulse buys. Start with the rolling cart and the cooking essentials, then upgrade your storage and finishes as funds allow. At iHome Direct, our range of kitchen islands, trolleys, and modern appliances brings both comfort and style to your living space without the premium price tag. Browse our collection to find affordable solutions that combine functionality with an effortless aesthetic, and enjoy fast UK delivery with secure checkout as you transform your home today.
Frequently Asked Questions
What is a realistic budget for setting up a kitchen from scratch?
A realistic budget depends on your needs and whether you're starting from zero. For a basic setup with essential appliances, cookware, and storage, expect to spend a few hundred pounds. Prioritise the core items you use daily, like a kettle, a good knife, and a reliable pan. You can add more specialised tools later. Focus on quality for items you use every day and save on the rest.
How do I prioritise spending when setting up a kitchen?
Prioritise spending on essential kitchen appliances for beginners first: a kettle, a toaster, and a good multi-cooker or air fryer. These cover most cooking and drinks needs. Next, invest in durable cookware like a frying pan and a saucepan. Storage solutions come after that. Avoid buying single-use gadgets when starting out, as they consume both money and valuable counter space.
How can I make a small kitchen look expensive on a budget?
Focus on a few high-impact changes. Replace dated hardware like cabinet handles with modern brushed steel or brass options, a cheap and easy DIY job. Update lighting with under-cabinet LED strips for a polished look. A cleverly placed kitchen island trolley adds both prep space and storage. Declutter your worktops to create a clean, high-end feel.
What are the essential appliances needed for a new kitchen?
Start with a kettle and a toaster for daily basics. Consider an air fryer for quick, energy-efficient meals instead of a full-size oven. A microwave is also handy for reheating. If you cook from scratch, a blender for soups and smoothies is important. Choose compact models if you have limited space.
Are there ways to achieve a modern kitchen aesthetic without a full renovation?
Yes, you can refresh your kitchen without replacing cabinets or worktops. Painting cabinet fronts is a cost-effective way to change the room's look. Updating hardware and fixtures also makes a big difference. Adding a stylish kitchen island on wheels can transform the space, providing storage and prep areas while looking modern and intentional.
This article was written using GrandRanker