

































Table of Contents
- Why Proper Air Fryer Maintenance Matters
- Before You Start: Safety and Preparation
- How Often to Clean Air Fryer: Your Maintenance Schedule
- Cleaning the Basket and Removable Tray
- How to Clean Air Fryer Heating Element Safely
- How to Remove Burnt Grease from Air Fryer Baskets
- Cleaning the Exterior Housing and Preventing Damage
- Post-Cleaning Drying and Storage Protocols
Last Updated: August 19, 2026
Why Proper Air Fryer Maintenance Matters
Your air fryer cooks faster than a conventional oven, uses less energy, and produces crispy results with minimal oil. But most people treat it like a set-and-forget appliance. The truth is, proper maintenance directly determines how long it lasts and how well it performs.

A well-maintained unit stays reliable for years. A neglected one loses its non-stick coating, develops stubborn grease buildup, and eventually becomes a fire hazard. The heating element works harder when clogged with residue. The basket's non-stick coating degrades faster with abrasive scrubbing. Electrical components can fail if moisture reaches them.
Maintaining your air fryer properly takes less than 10 minutes after each use, and a deeper clean takes about 20 minutes once a week. That's a small investment for years of reliable cooking.
Before You Start: Safety and Preparation
Always unplug your air fryer before cleaning. Give it at least 15 minutes to cool completely after use. The basket, tray, and heating element will still be hot enough to cause serious burns if touched immediately.

Never submerge the main unit in water. The body houses electrical components that will be damaged by water exposure. Only the removable basket and tray are designed for water contact. Everything else gets wiped with a damp cloth only.
Gather your cleaning supplies: warm soapy water, a soft-bristled brush or non-abrasive sponge, a microfibre cloth for drying, and optionally baking soda paste or white vinegar for stubborn grease. Avoid anything abrasive, steel wool and aggressive scrubbing will scratch the non-stick coating and render it useless.
Check your air fryer's manual for any specific restrictions. Some models have particular materials or coatings that need gentler handling.
How Often to Clean Air Fryer: Your Maintenance Schedule
After every single use, perform a quick wipe-down. Remove the basket and tray, empty loose food particles, and wipe the interior surfaces with a damp cloth. This takes two minutes and prevents grease from hardening into stubborn deposits.
Once a week, do a thorough clean of the basket and tray. Soak them in warm soapy water for 10 minutes, then scrub gently with a soft brush, paying particular attention to corners and crevices where grease collects.
Once a month, clean the heating element and interior walls. If you cook fatty foods regularly (bacon, sausages, skin-on chicken), increase your weekly deep cleans to twice weekly.
| Cleaning Task | Frequency | Time Required |
|---|---|---|
| Quick wipe-down | After every use | 2 minutes |
| Basket and tray deep clean | Once weekly | 10 minutes |
| Heating element and interior | Once monthly | 15 minutes |
| Complete deep clean | Every 3 months | 30 minutes |
Cleaning the Basket and Removable Tray
Start by removing both pieces after the air fryer has cooled. Empty any loose food particles. If there's dried food stuck on, soak both pieces in warm soapy water for 10 minutes to soften the residue.
Use a soft-bristled brush or non-abrasive sponge to gently scrub away loosened food. Pay special attention to the mesh holes on the basket where grease and food particles hide.
For stubborn grease, make a paste from baking soda and a small amount of water. Apply to affected areas and let sit for five minutes. Scrub gently with your brush, then rinse thoroughly.
Rinse both pieces under running water until all soap residue is gone. Dry them completely with a microfibre cloth before putting them back in the unit. Moisture left on the basket can cause rust spots over time.
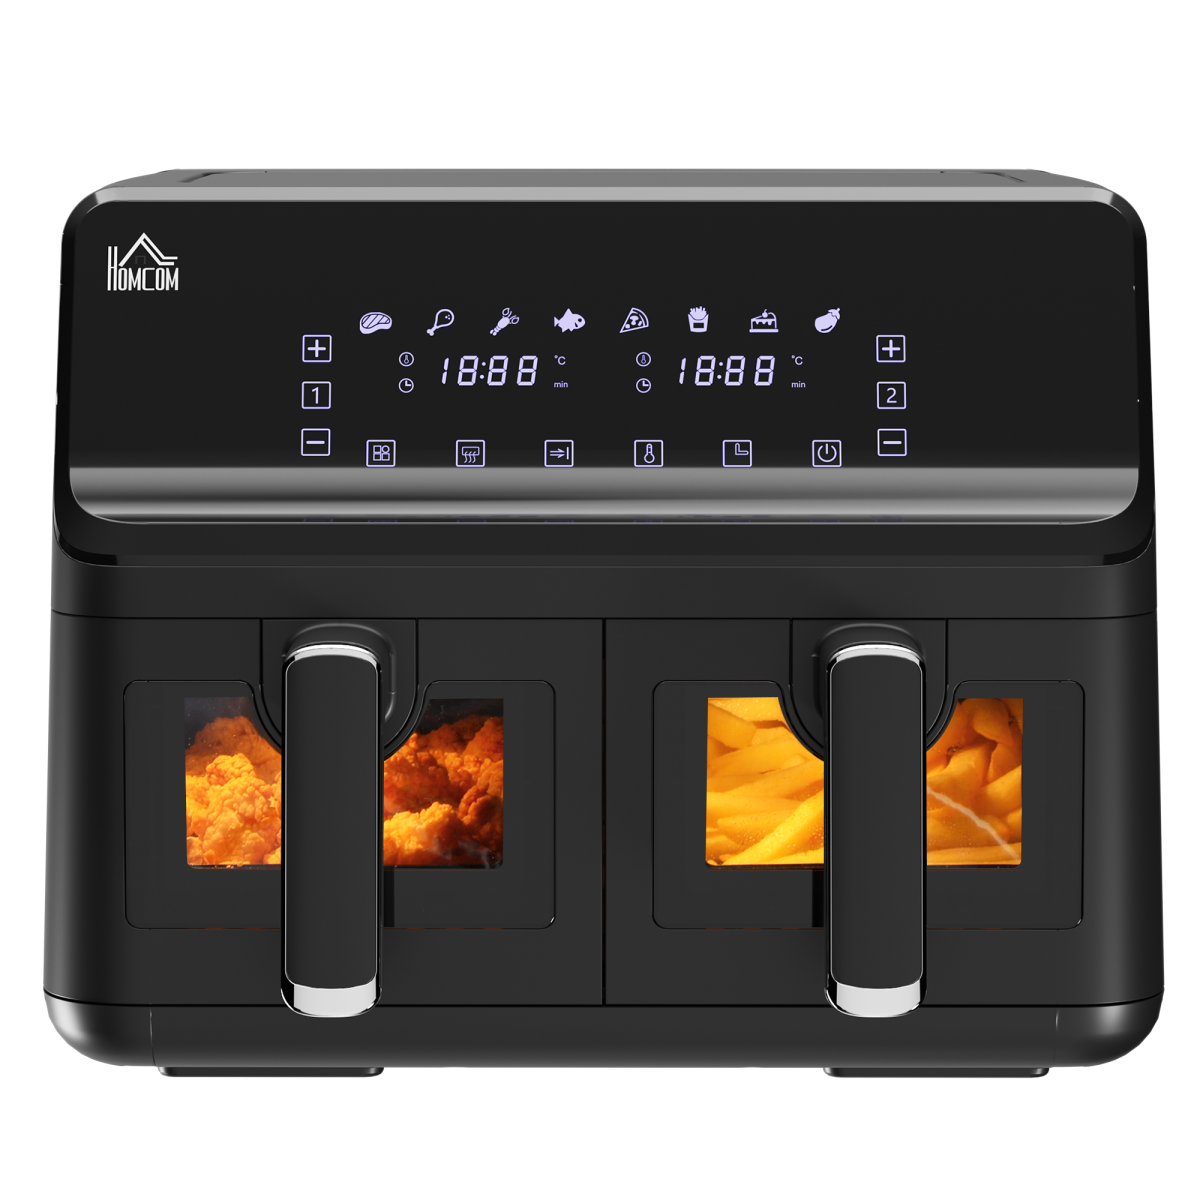
If your basket has a removable divider (as in dual-zone models like the HOMCOM Dual Zone Air Fryer 8.5L), clean this separately with the same method.
How to Clean Air Fryer Heating Element Safely
The heating element is crucial to clean. A clogged element works harder, uses more energy, and eventually fails.
Before touching the heating element, ensure the unit is unplugged and has cooled for at least 15 minutes. The element looks like a coil or rod at the top of the cooking chamber.
Use a soft-bristled brush to gently brush away loose food particles and grease buildup. Work slowly and carefully, you're removing accumulated debris, not scrubbing it clean. The bristles should be soft enough that they wouldn't cause discomfort if pressed against your skin.
For stuck-on grease, dampen your brush slightly with warm water and brush gently again. Never pour water directly onto the heating element.
If the heating element has carbonised grease (dark, hard buildup), carefully apply a tiny amount of white vinegar to your brush. Vinegar breaks down carbonised grease without being harsh. Brush gently, then use a dry brush to remove any vinegar residue.
Never scrape the heating element with metal tools or use abrasive materials.
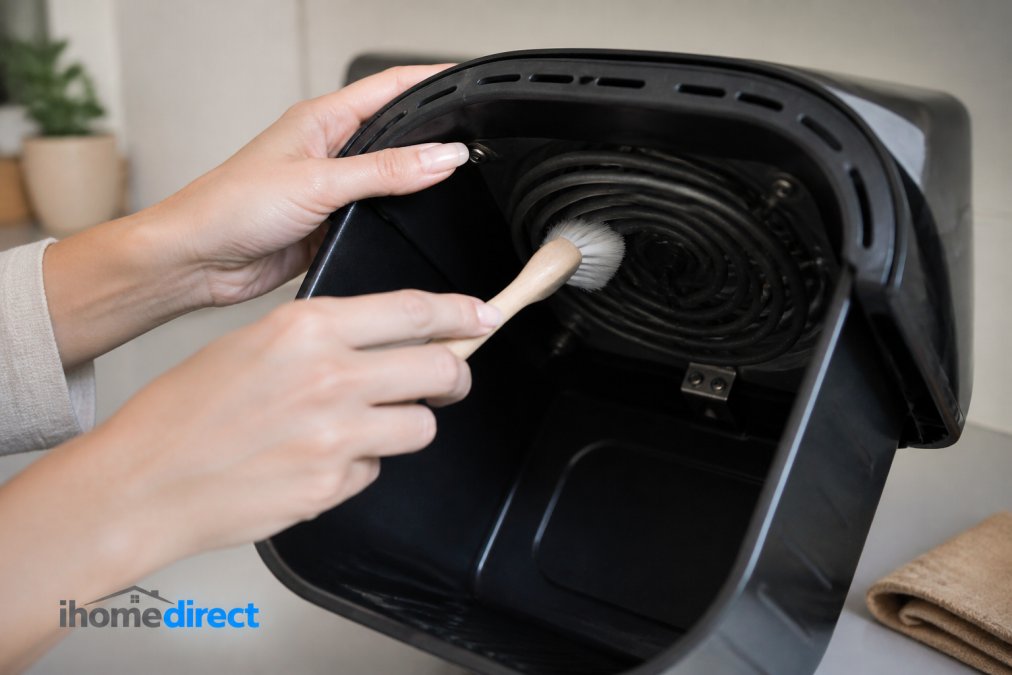
After cleaning, use a dry microfibre cloth to wipe away any remaining moisture or debris. Let the unit air-dry for a few minutes before plugging it back in.
How to Remove Burnt Grease from Air Fryer Baskets
Burnt grease becomes exponentially harder to remove the longer it sits. The best approach is prevention, wipe your basket immediately after use, before grease hardens.
If you're dealing with existing burnt grease, fill a sink or basin with warm water and add a generous squirt of dishwashing liquid. Place the basket in the water and let it soak for 15 minutes. If grease is particularly thick, extend the soak to 20 minutes.
After soaking, use a soft-bristled brush to gently scrub affected areas in circular motions. The soaking has already done most of the work.
For grease that still won't budge, make a paste from baking soda and water. Apply directly to burnt grease and let sit for five minutes. Scrub gently with your brush.
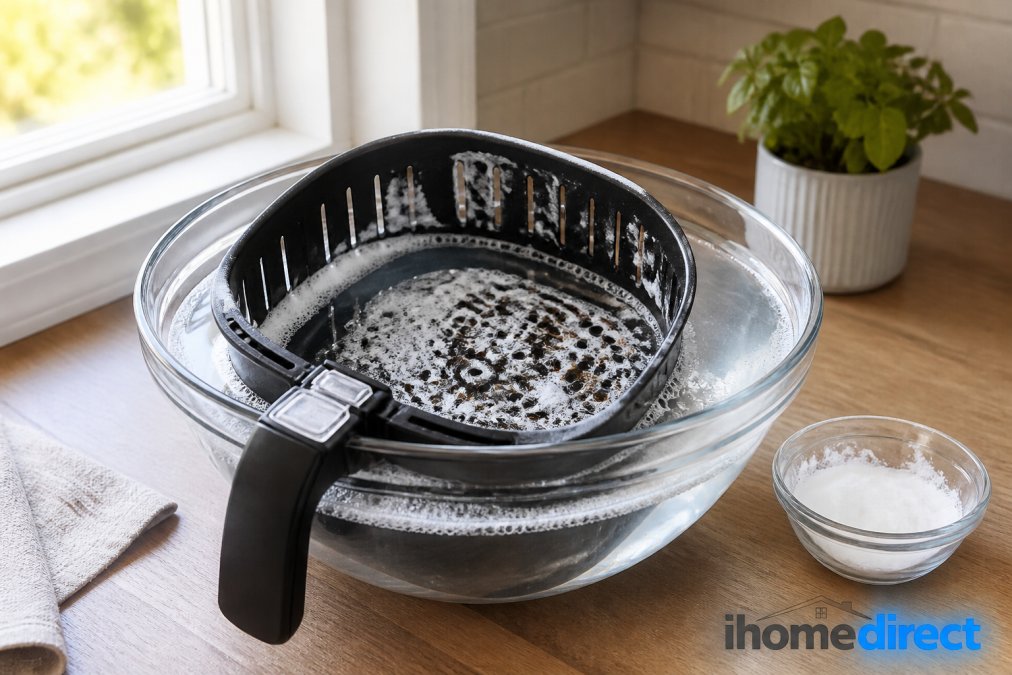
If dealing with truly stubborn burnt food, soak the basket in equal parts white vinegar and warm water for 10 minutes, then scrub gently. The acidity breaks down carbonised food without requiring aggressive scrubbing.
Never use the dishwasher, even if your basket claims to be dishwasher-safe. The high heat and harsh detergent accelerate non-stick coating degradation. Hand washing extends your basket's lifespan significantly.
Rinse thoroughly under running water until all soap, baking soda paste, or vinegar is completely gone. Dry immediately with a microfibre cloth.
Cleaning the Exterior Housing and Preventing Damage
Unplug the unit before cleaning the exterior. Use a damp microfibre cloth to wipe down all external surfaces. If there's stubborn grease splatter, dampen your cloth slightly more and wipe gently.
Never spray water or cleaning products directly onto the unit. Water could seep into ventilation holes and damage internal components. Always apply liquid to your cloth first.
Pay attention to ventilation slots on the sides and back. Dust accumulation here restricts airflow, forcing the heating element to work harder. Use a slightly damp cloth or dry soft brush to gently dislodge dust.
Never place your air fryer near a sink or in a damp environment. Ensure at least 10cm of clear space around the unit for air circulation.

Post-Cleaning Drying and Storage Protocols
After washing the basket and tray, dry them completely with a microfibre cloth. Don't leave them on the counter to air-dry, moisture in corners and crevices can cause rust spots or water marks.
Place the dried basket and tray back into the unit only after they're completely dry.
If storing your air fryer for an extended period, ensure it's completely clean and dry first. Store it in a cool, dry place away from direct sunlight.
Keep the air fryer upright in its normal position. Storing it on its side or upside down can allow residual moisture to migrate into areas where it shouldn't be.
Never stack anything on top of your air fryer. The weight can damage the heating element or internal components and restricts ventilation.
If your air fryer came with a storage cover, use it. This keeps dust away whilst allowing air circulation. Check your air fryer monthly even if not using it regularly, a quick wipe-down every few weeks maintains the unit in good condition.
Maintaining your air fryer properly isn't a chore, it's an investment in years of reliable cooking. A few minutes of care after each use prevents the grease buildup and performance issues that frustrate many users. At iHome Direct, we know that quality appliances deserve quality care. Whether you're using a compact HOMCOM 1700W Air Fryer 6.5L or a larger HOMCOM 24L Air Fryer Oven, the same maintenance principles apply. Follow these steps consistently, and your air fryer will deliver crispy, delicious results for years to come.
Frequently Asked Questions
How often should you deep clean an air fryer?
Deep cleaning your air fryer should happen every 2-4 weeks, depending on use frequency. If you use your air fryer daily, aim for weekly deep cleans. Daily light cleaning of the basket and tray removes food particles and prevents grease buildup. This routine prevents carbonised grease from damaging the non-stick coating and keeps your appliance performing at its best for years.
Can you put air fryer parts in the dishwasher?
Most removable parts like baskets and trays are dishwasher safe, but always check your manufacturer's instructions first. Hand washing is gentler on non-stick coatings and extends their lifespan. Use warm soapy water and a soft cloth or soft-bristled brush. Never submerge the main unit or heating element in water. Air fryer baskets with delicate coatings benefit from hand washing with a microfiber cloth to prevent scratches.
What is the best way to remove stubborn grease from an air fryer basket?
Soak the basket in warm soapy water for 15-20 minutes, then apply a baking soda paste to burnt-on residue. Let it sit for another 10 minutes before gently scrubbing with a soft-bristled brush. For stubborn grease, white vinegar mixed with water works well as a natural degreaser. Avoid abrasive sponges that scratch the non-stick coating. Rinse thoroughly with clean water and dry completely before using.
How do you clean the heating element of an air fryer safely?
Always unplug your air fryer and let it cool completely before cleaning the heating element. Use a soft-bristled brush or microfiber cloth to gently remove food particles and grease buildup. Never use water directly on the heating element or immerse it. For stubborn residue, a slightly damp cloth works, but ensure no water enters electrical components. Regular light cleaning prevents carbonised grease from affecting performance and heating consistency.
This article was written using GrandRanker